Wuxi LvYin Artificial Turf Co.,Ltd focuses on sports and landscape artificial turf and has been serving global markets since 1998.
Contact Info
- Room 309, Annex Building, Lianchuang Building, Wuxi City, Jiangsu Province, China
Loading
Wuxi LvYin Artificial Turf Co.,Ltd focuses on sports and landscape artificial turf and has been serving global markets since 1998.
A complete step-by-step guide for installing artificial turf. Covers site preparation, base construction, turf laying, seaming, infill, and quality inspection—designed for installers, contractors, and project owners.
A professional artificial turf installation follows a systematic 6-step process. Each stage builds on the previous one—skipping or rushing any step can compromise the final result and reduce the turf's lifespan.
Whether you're installing a residential lawn or a professional sports field, the same fundamental workflow applies. The key is proper preparation and attention to detail at every stage.
Different applications require different installation approaches. Below are the two most common methods—landscape and sports field—each with its own base system, layering, and finishing requirements.
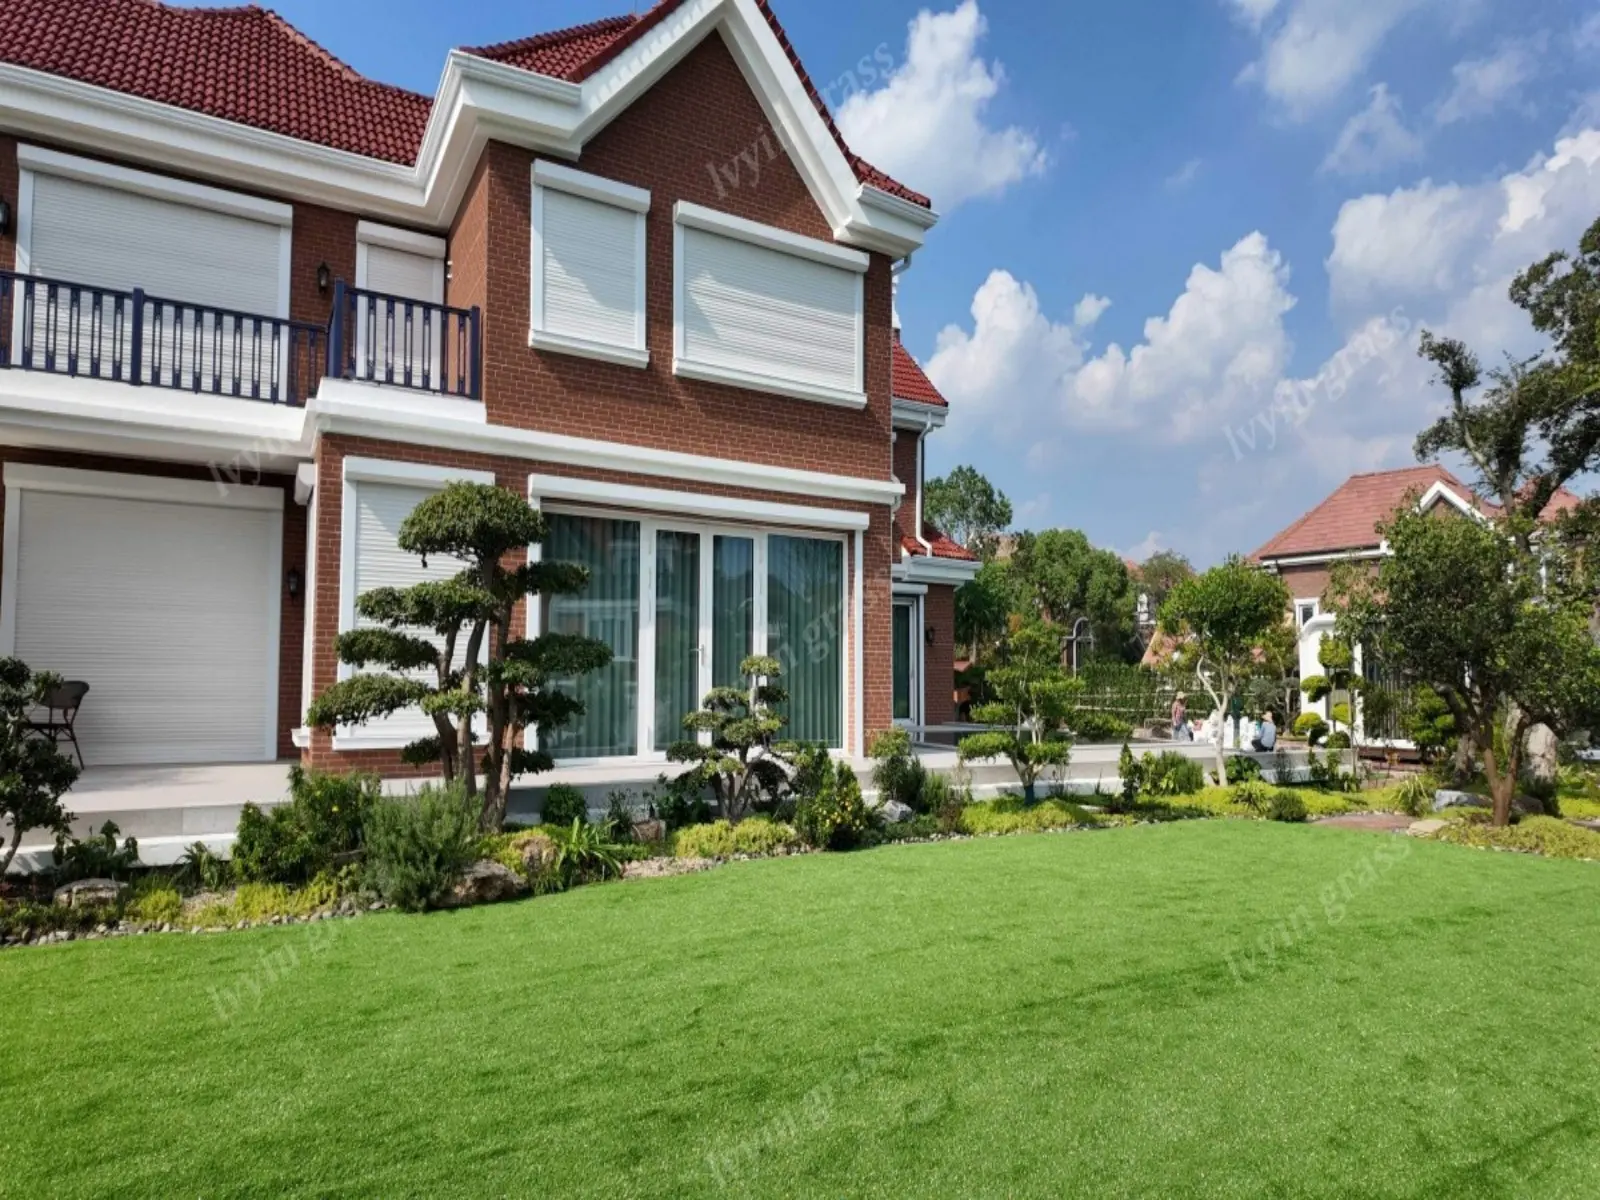
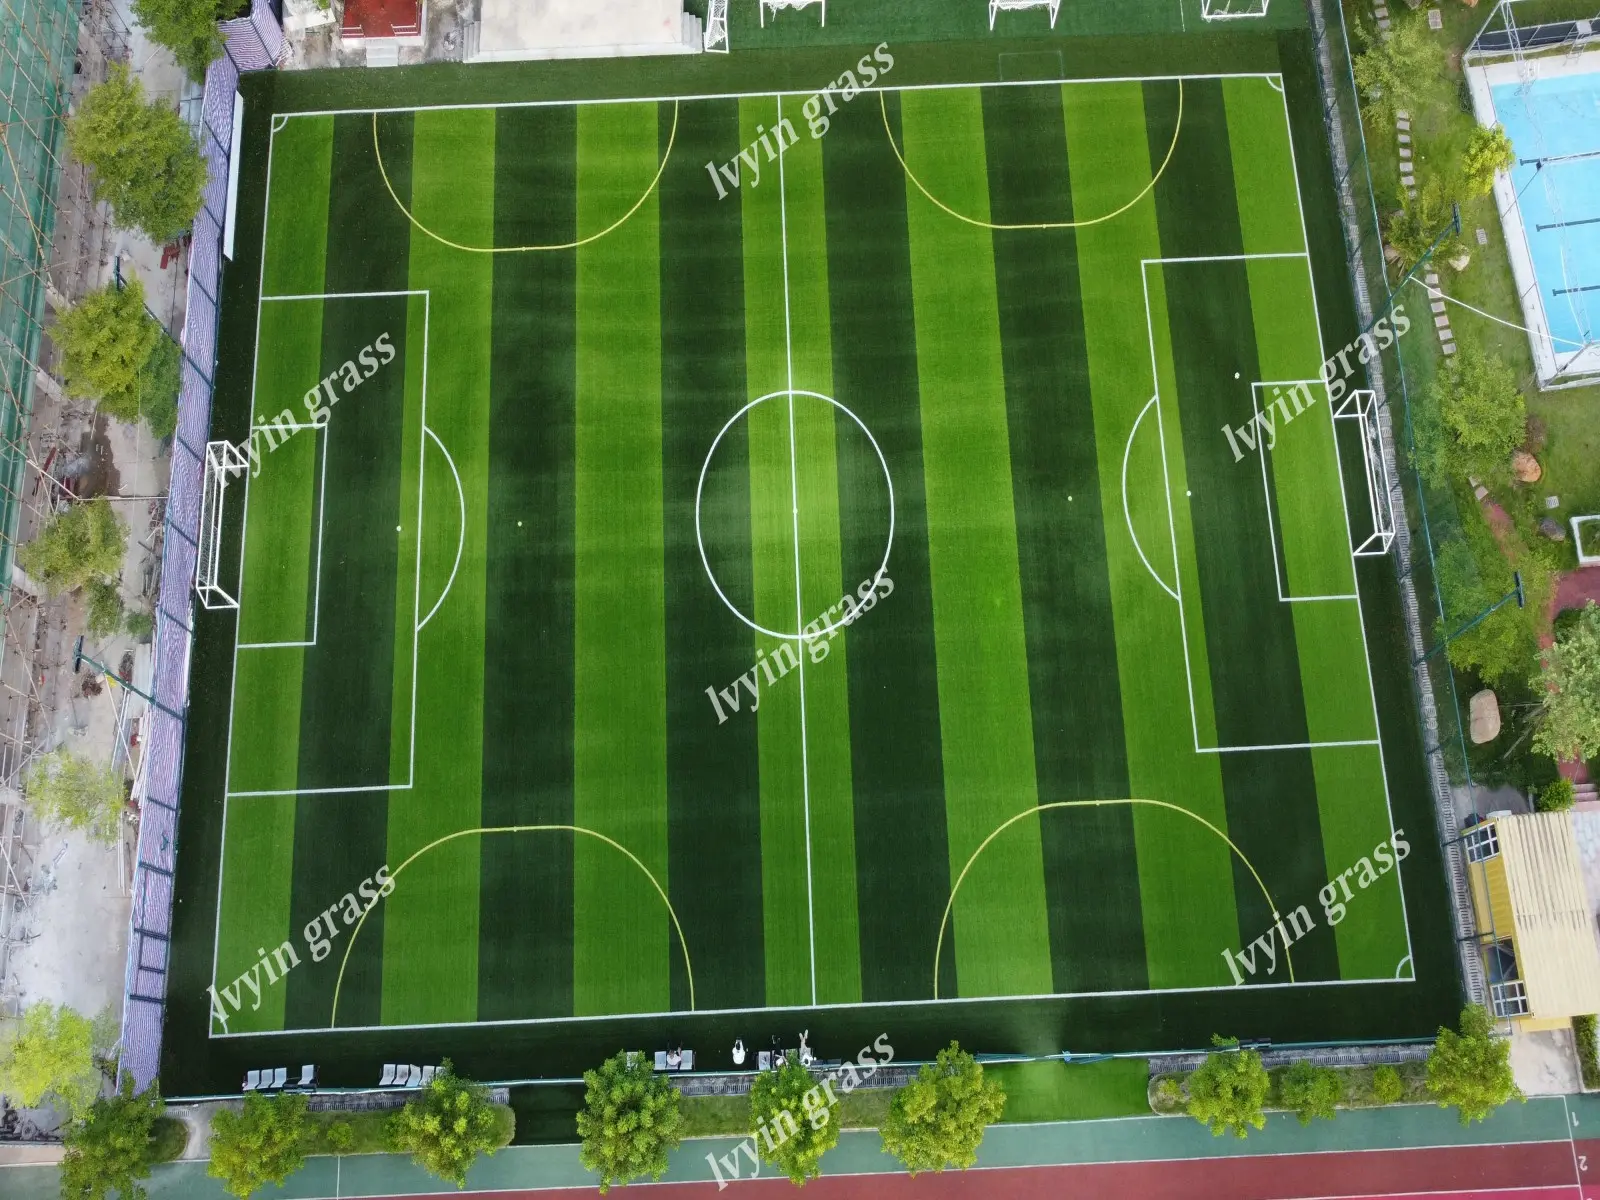
Having the right tools and accessories is essential for a professional installation. Below are the key materials you'll need—some of which we supply directly.
Specialized joining tape used to connect two pieces of artificial turf seamlessly and securely.
View ProductHigh-strength glue designed to bond turf backing to seam tape and edges permanently.
View ProductRounded silica sand that weighs down the turf, supports fibers, and improves drainage.
Sourced LocallyCarpet kicker, power broom, infill spreader, utility knife, and compactor for professional results.
Sourced LocallyAvoid these frequent errors that can shorten turf lifespan, cause drainage issues, or create an uneven playing surface. Each mistake comes with a quick fix tip.
Inadequate slope or missing drainage layers causes water pooling, leading to mold and turf detachment.
Misaligned seams or insufficient adhesive creates visible gaps and weak joints that separate over time.
A poorly leveled base causes bumps, dips, and inconsistent ball roll—especially critical for sports fields.
Too little infill causes fibers to flatten; too much makes the surface hard and reduces performance.
Get our full installation manual with detailed diagrams, material lists, measurement tables, and quality inspection checklists. Perfect for contractors and DIY installers.
PDF format · Includes step-by-step diagrams · Updated 2026